
How to take pictures of Northern lights? – Capture the magic
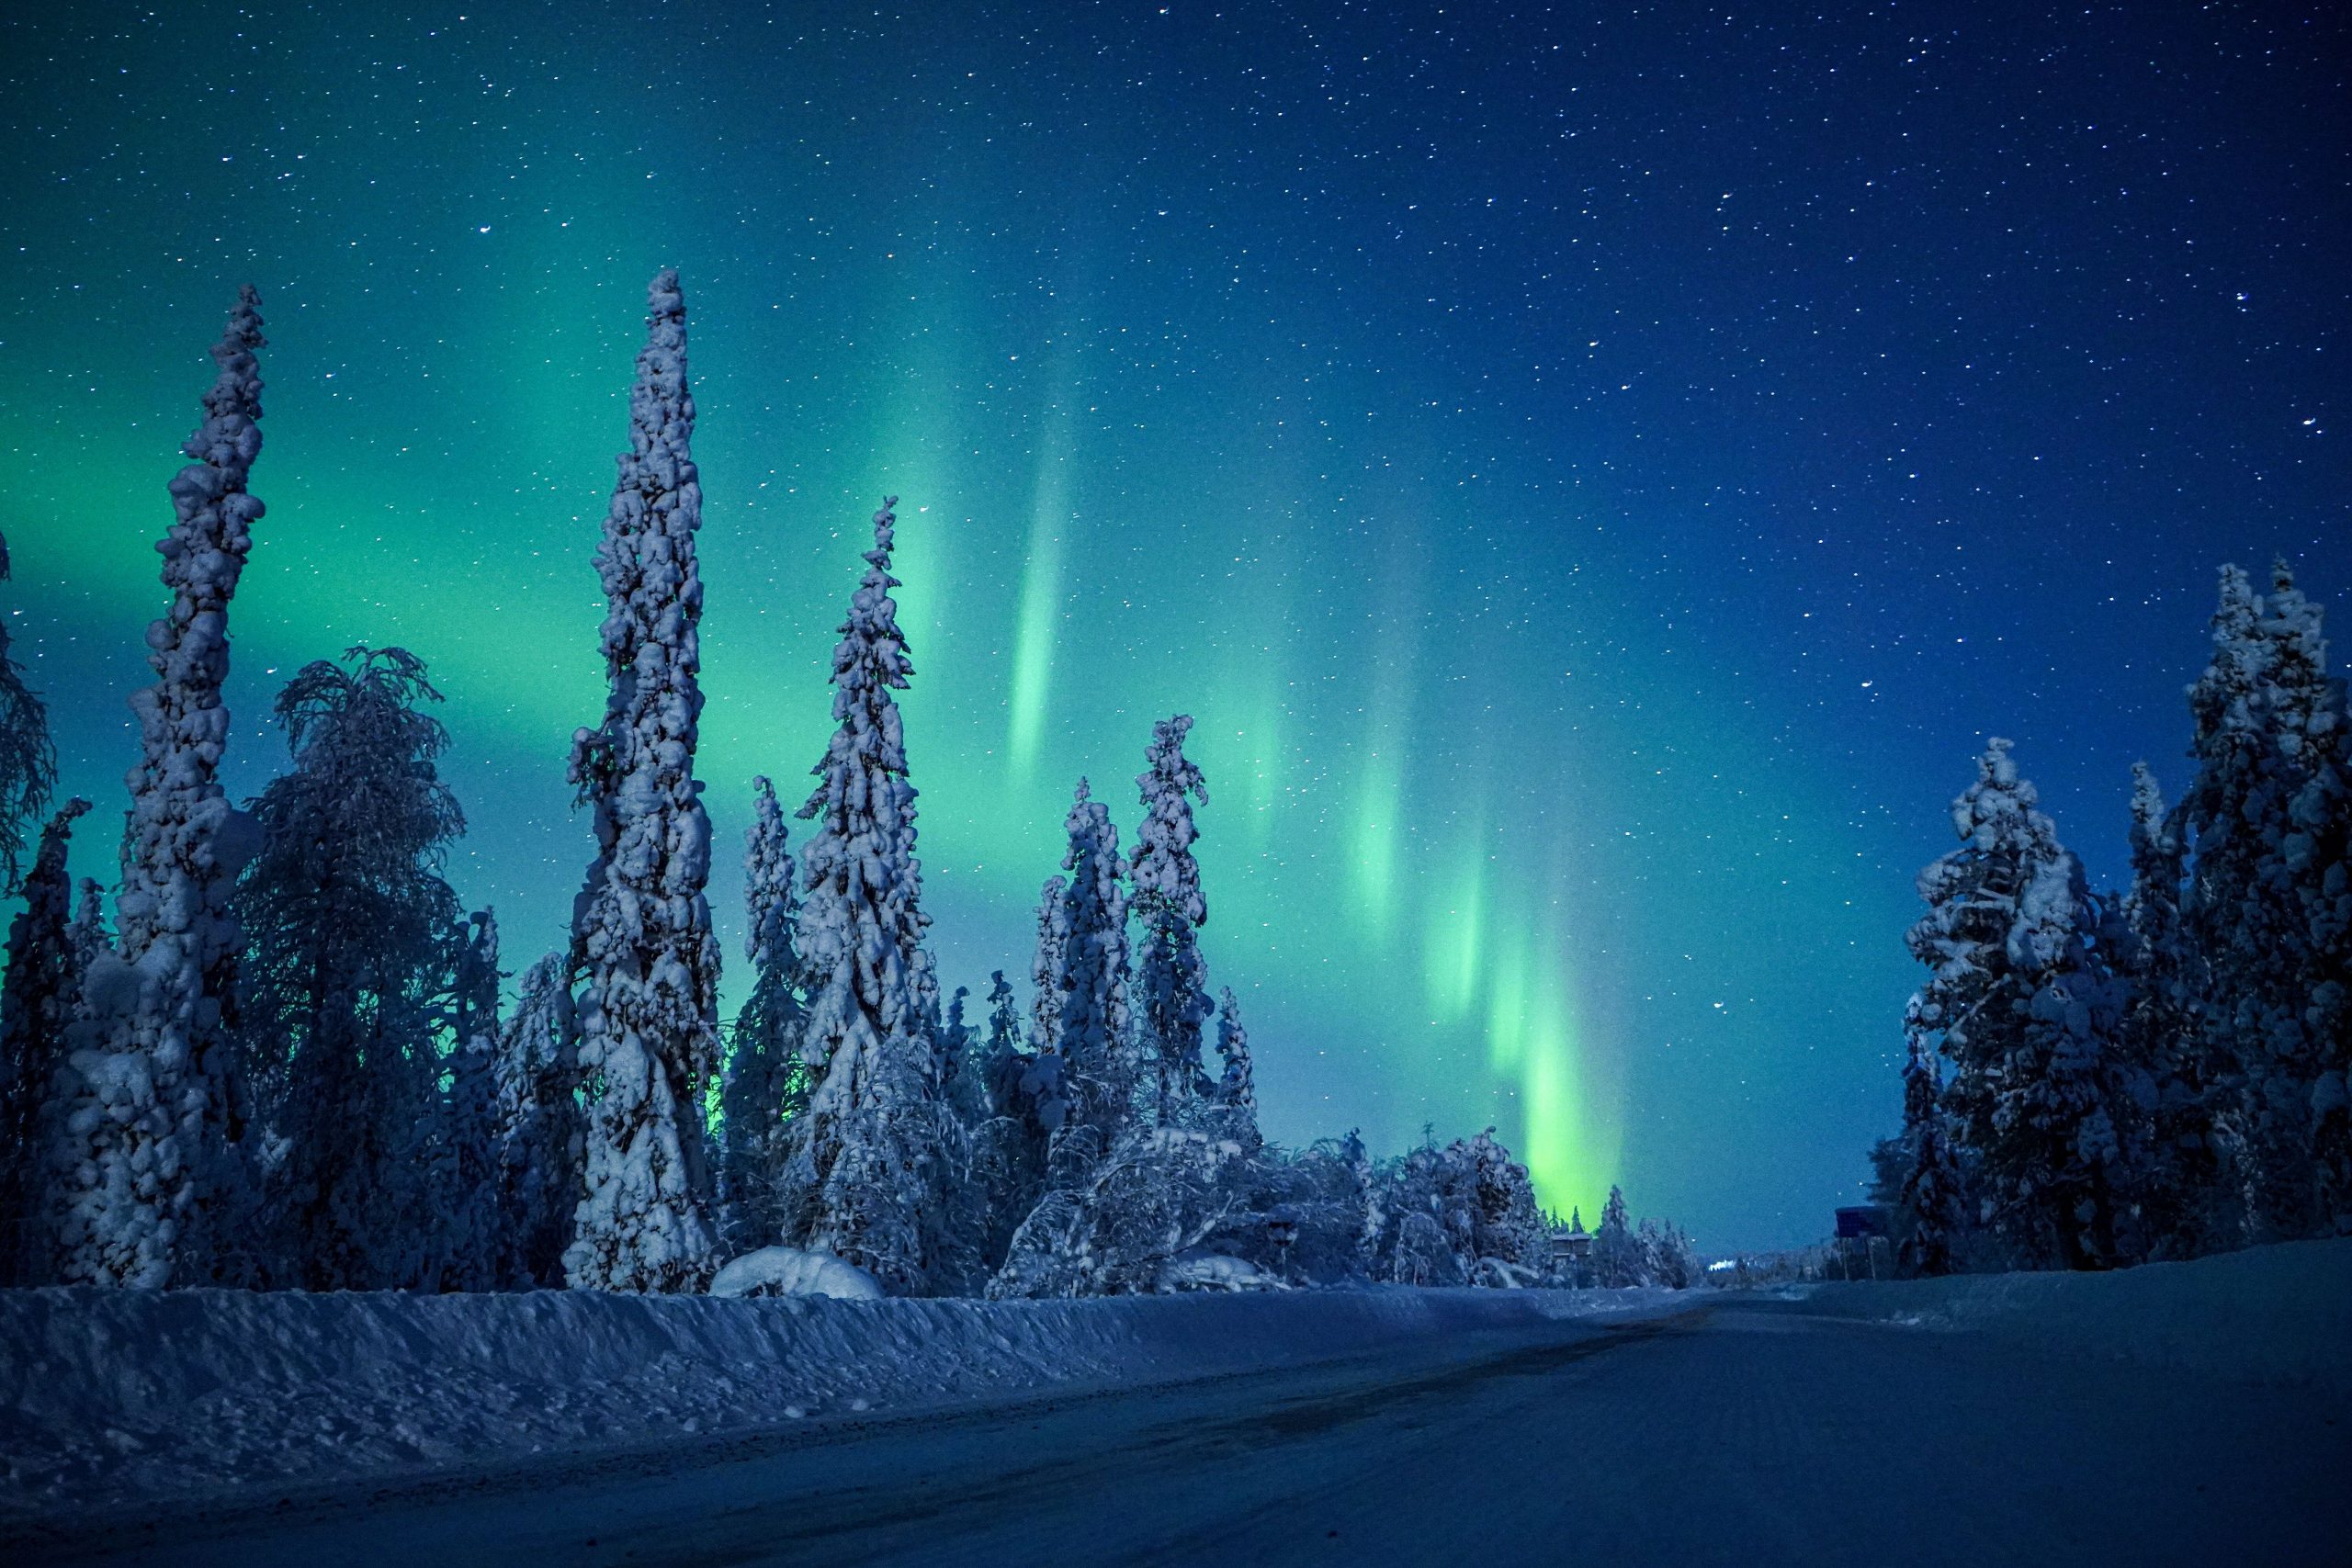
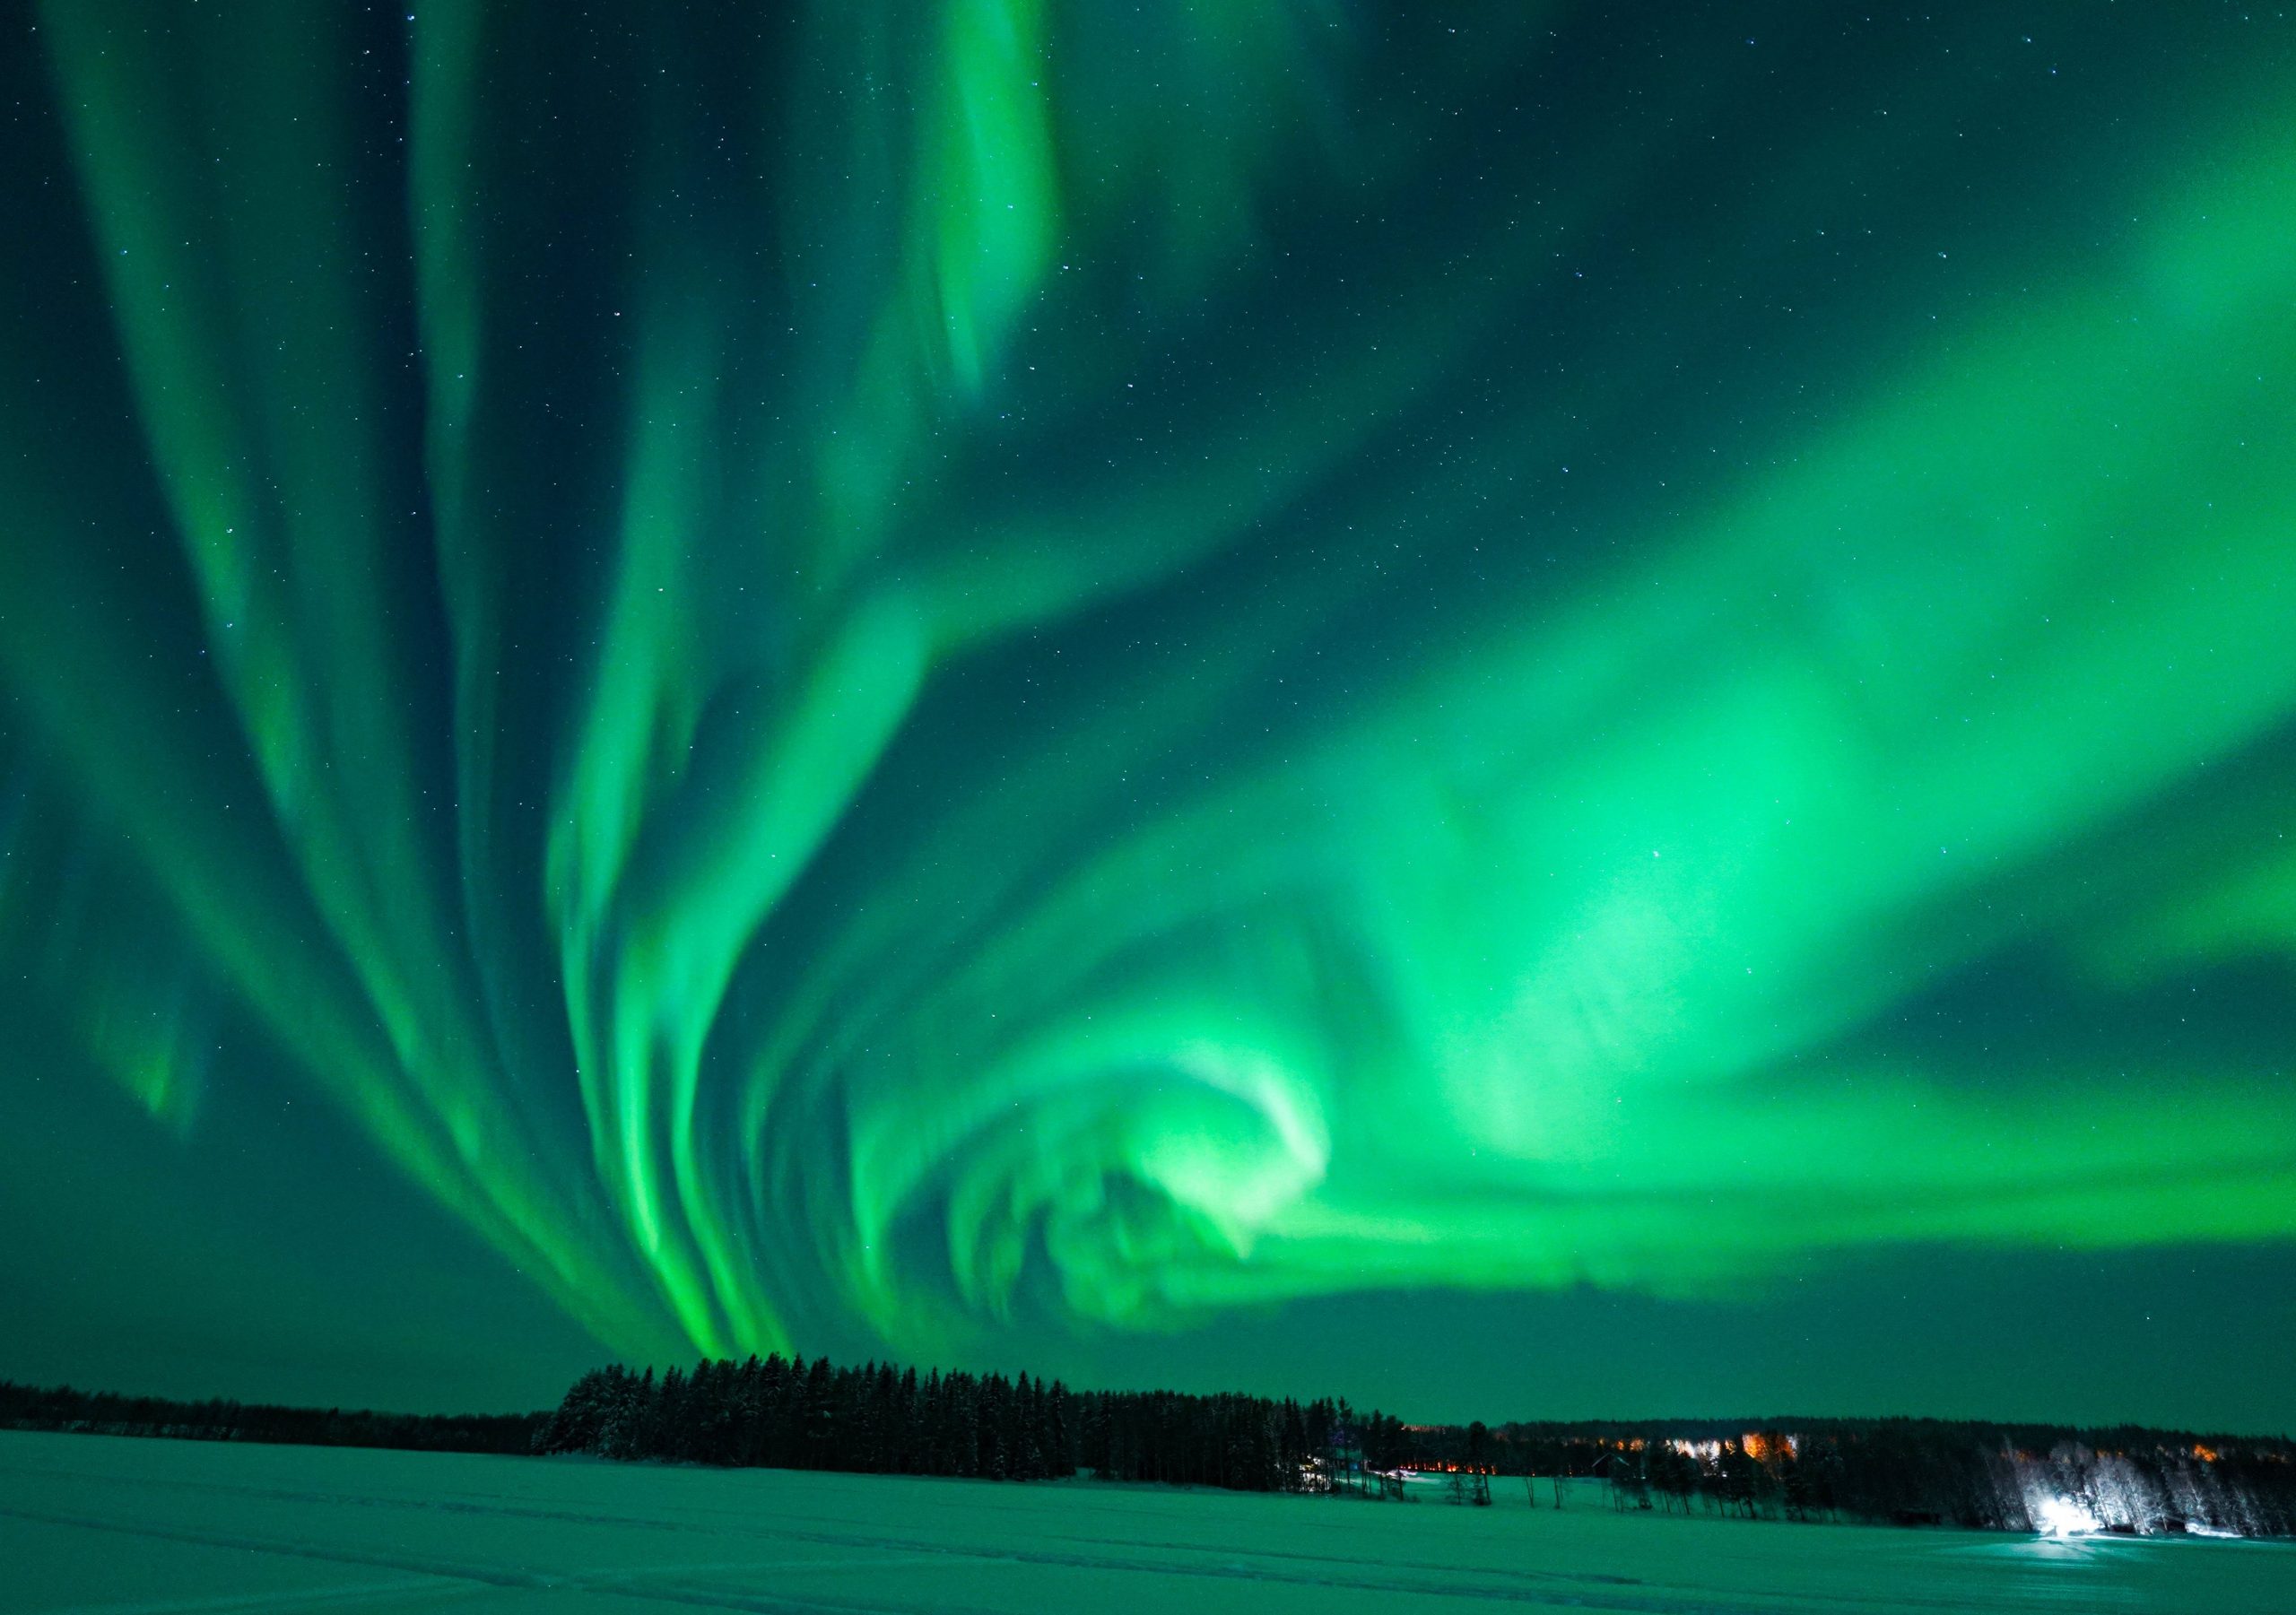
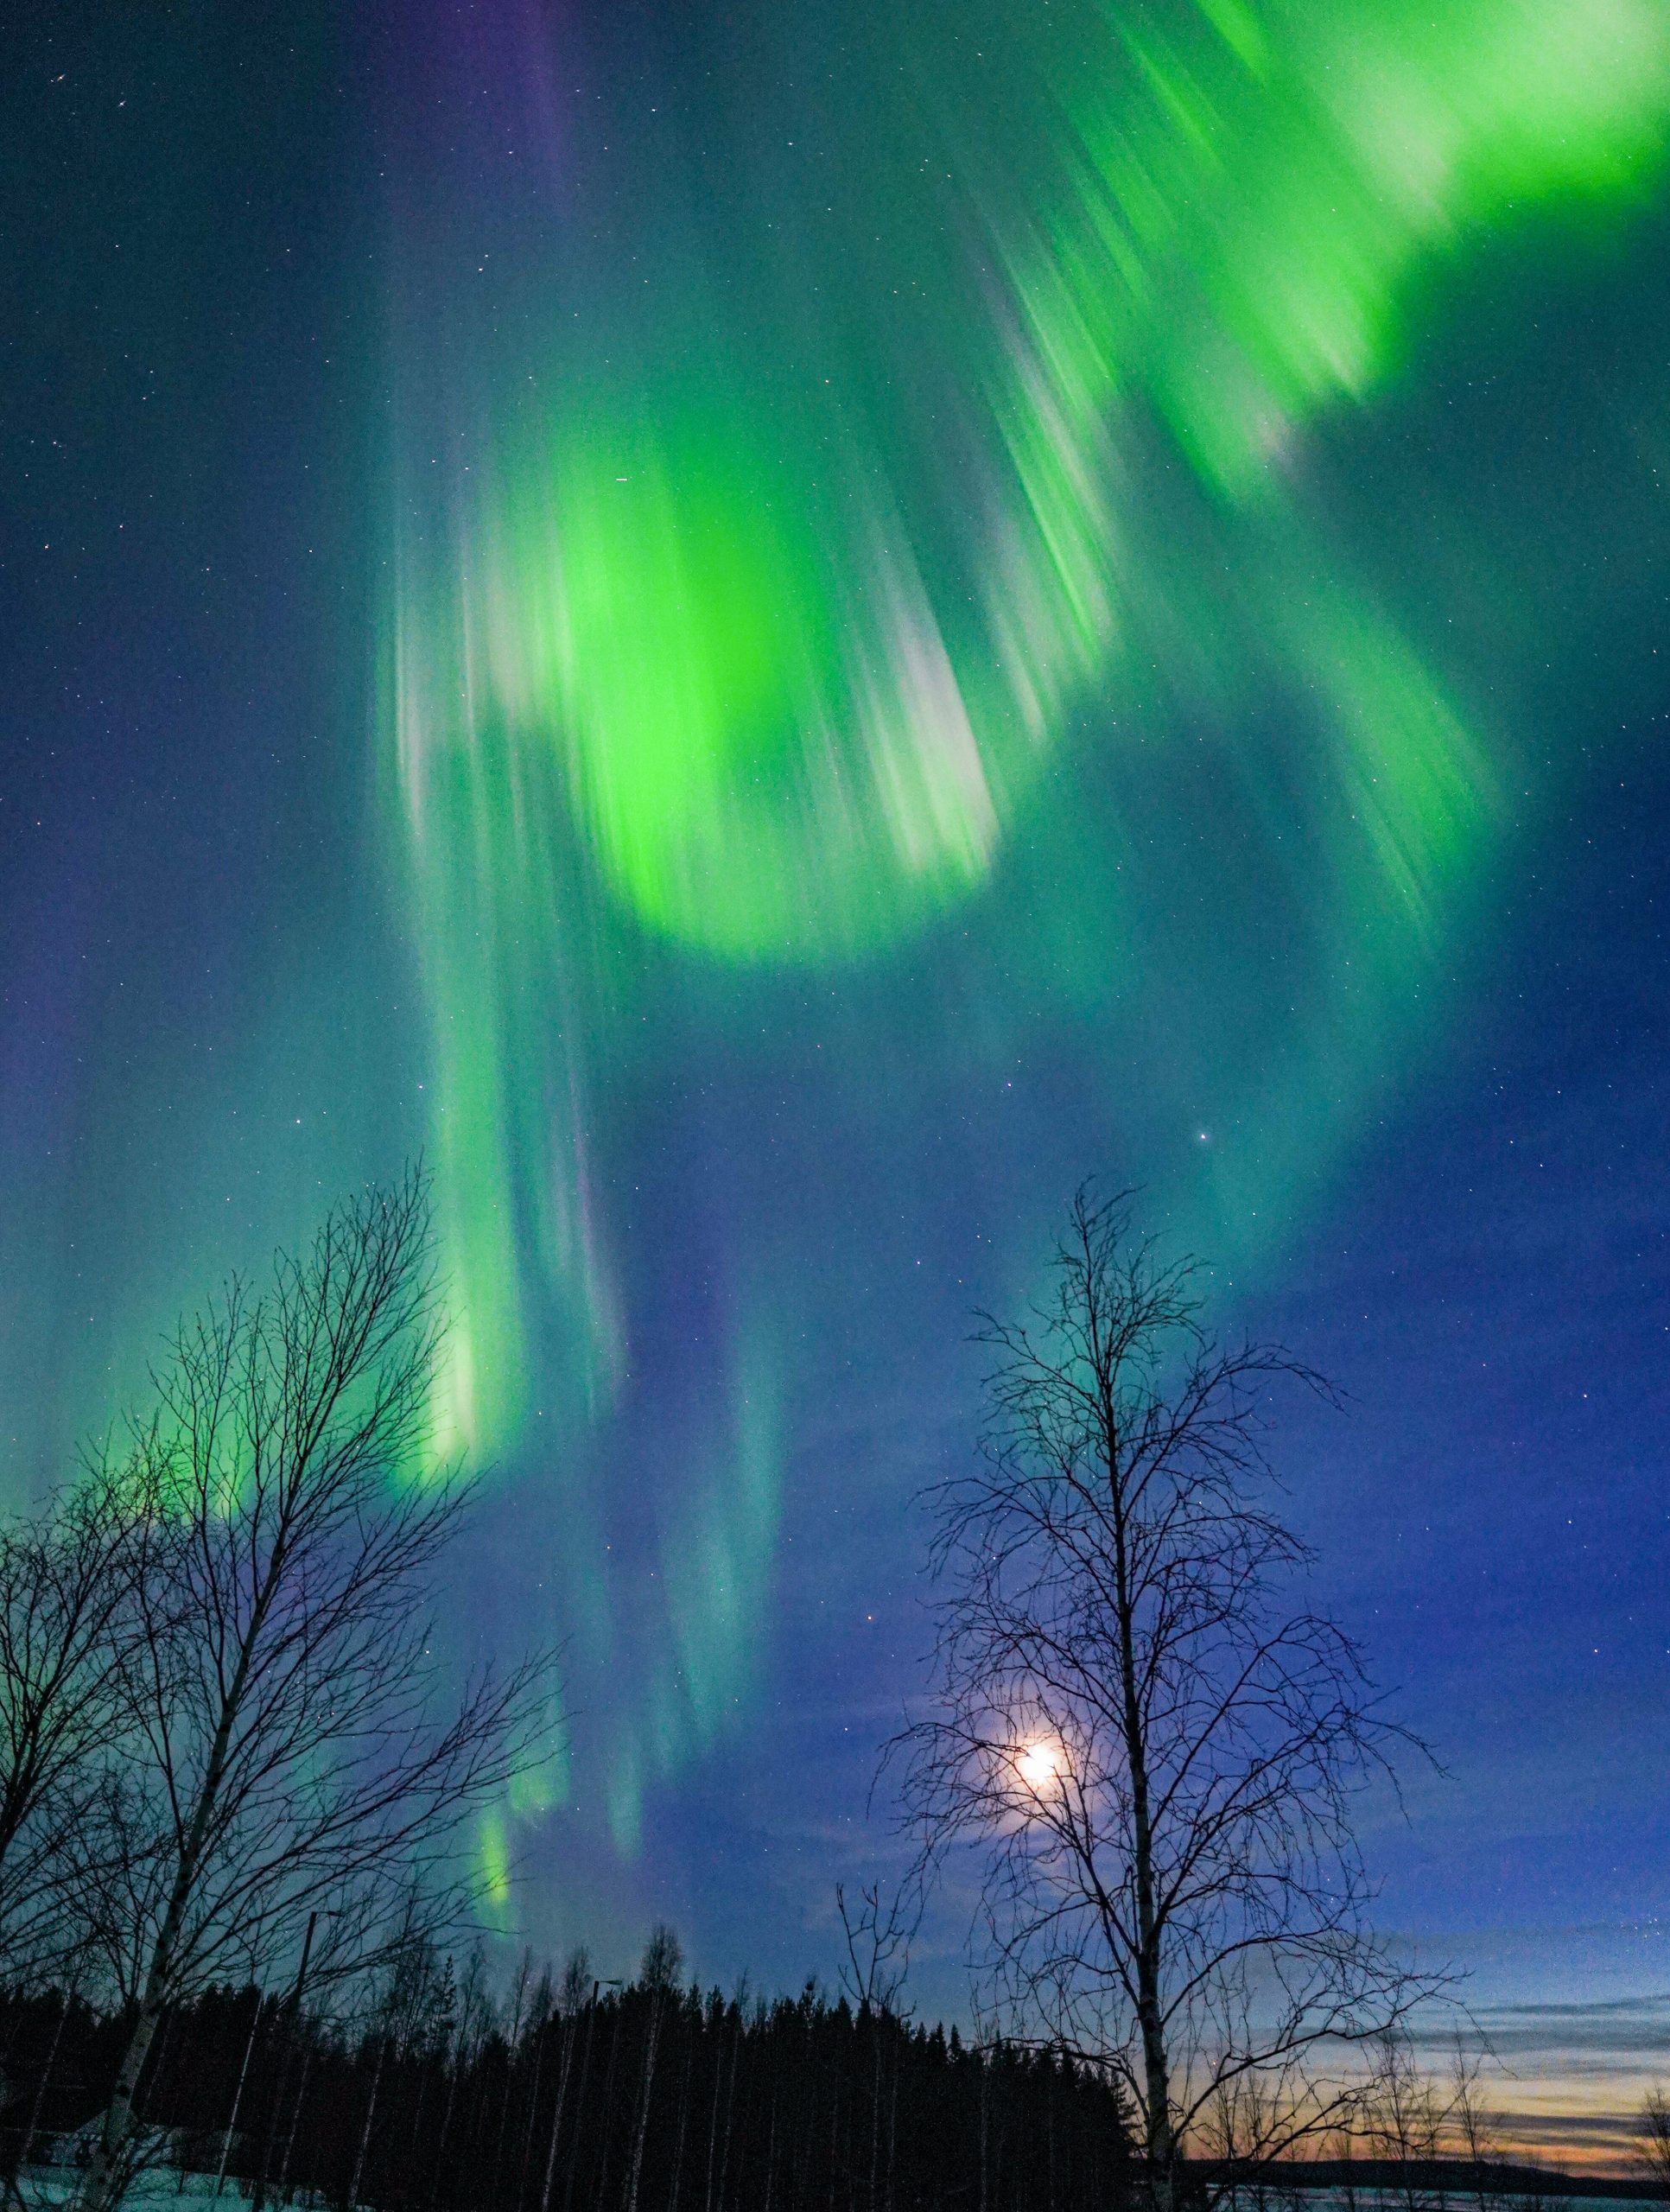
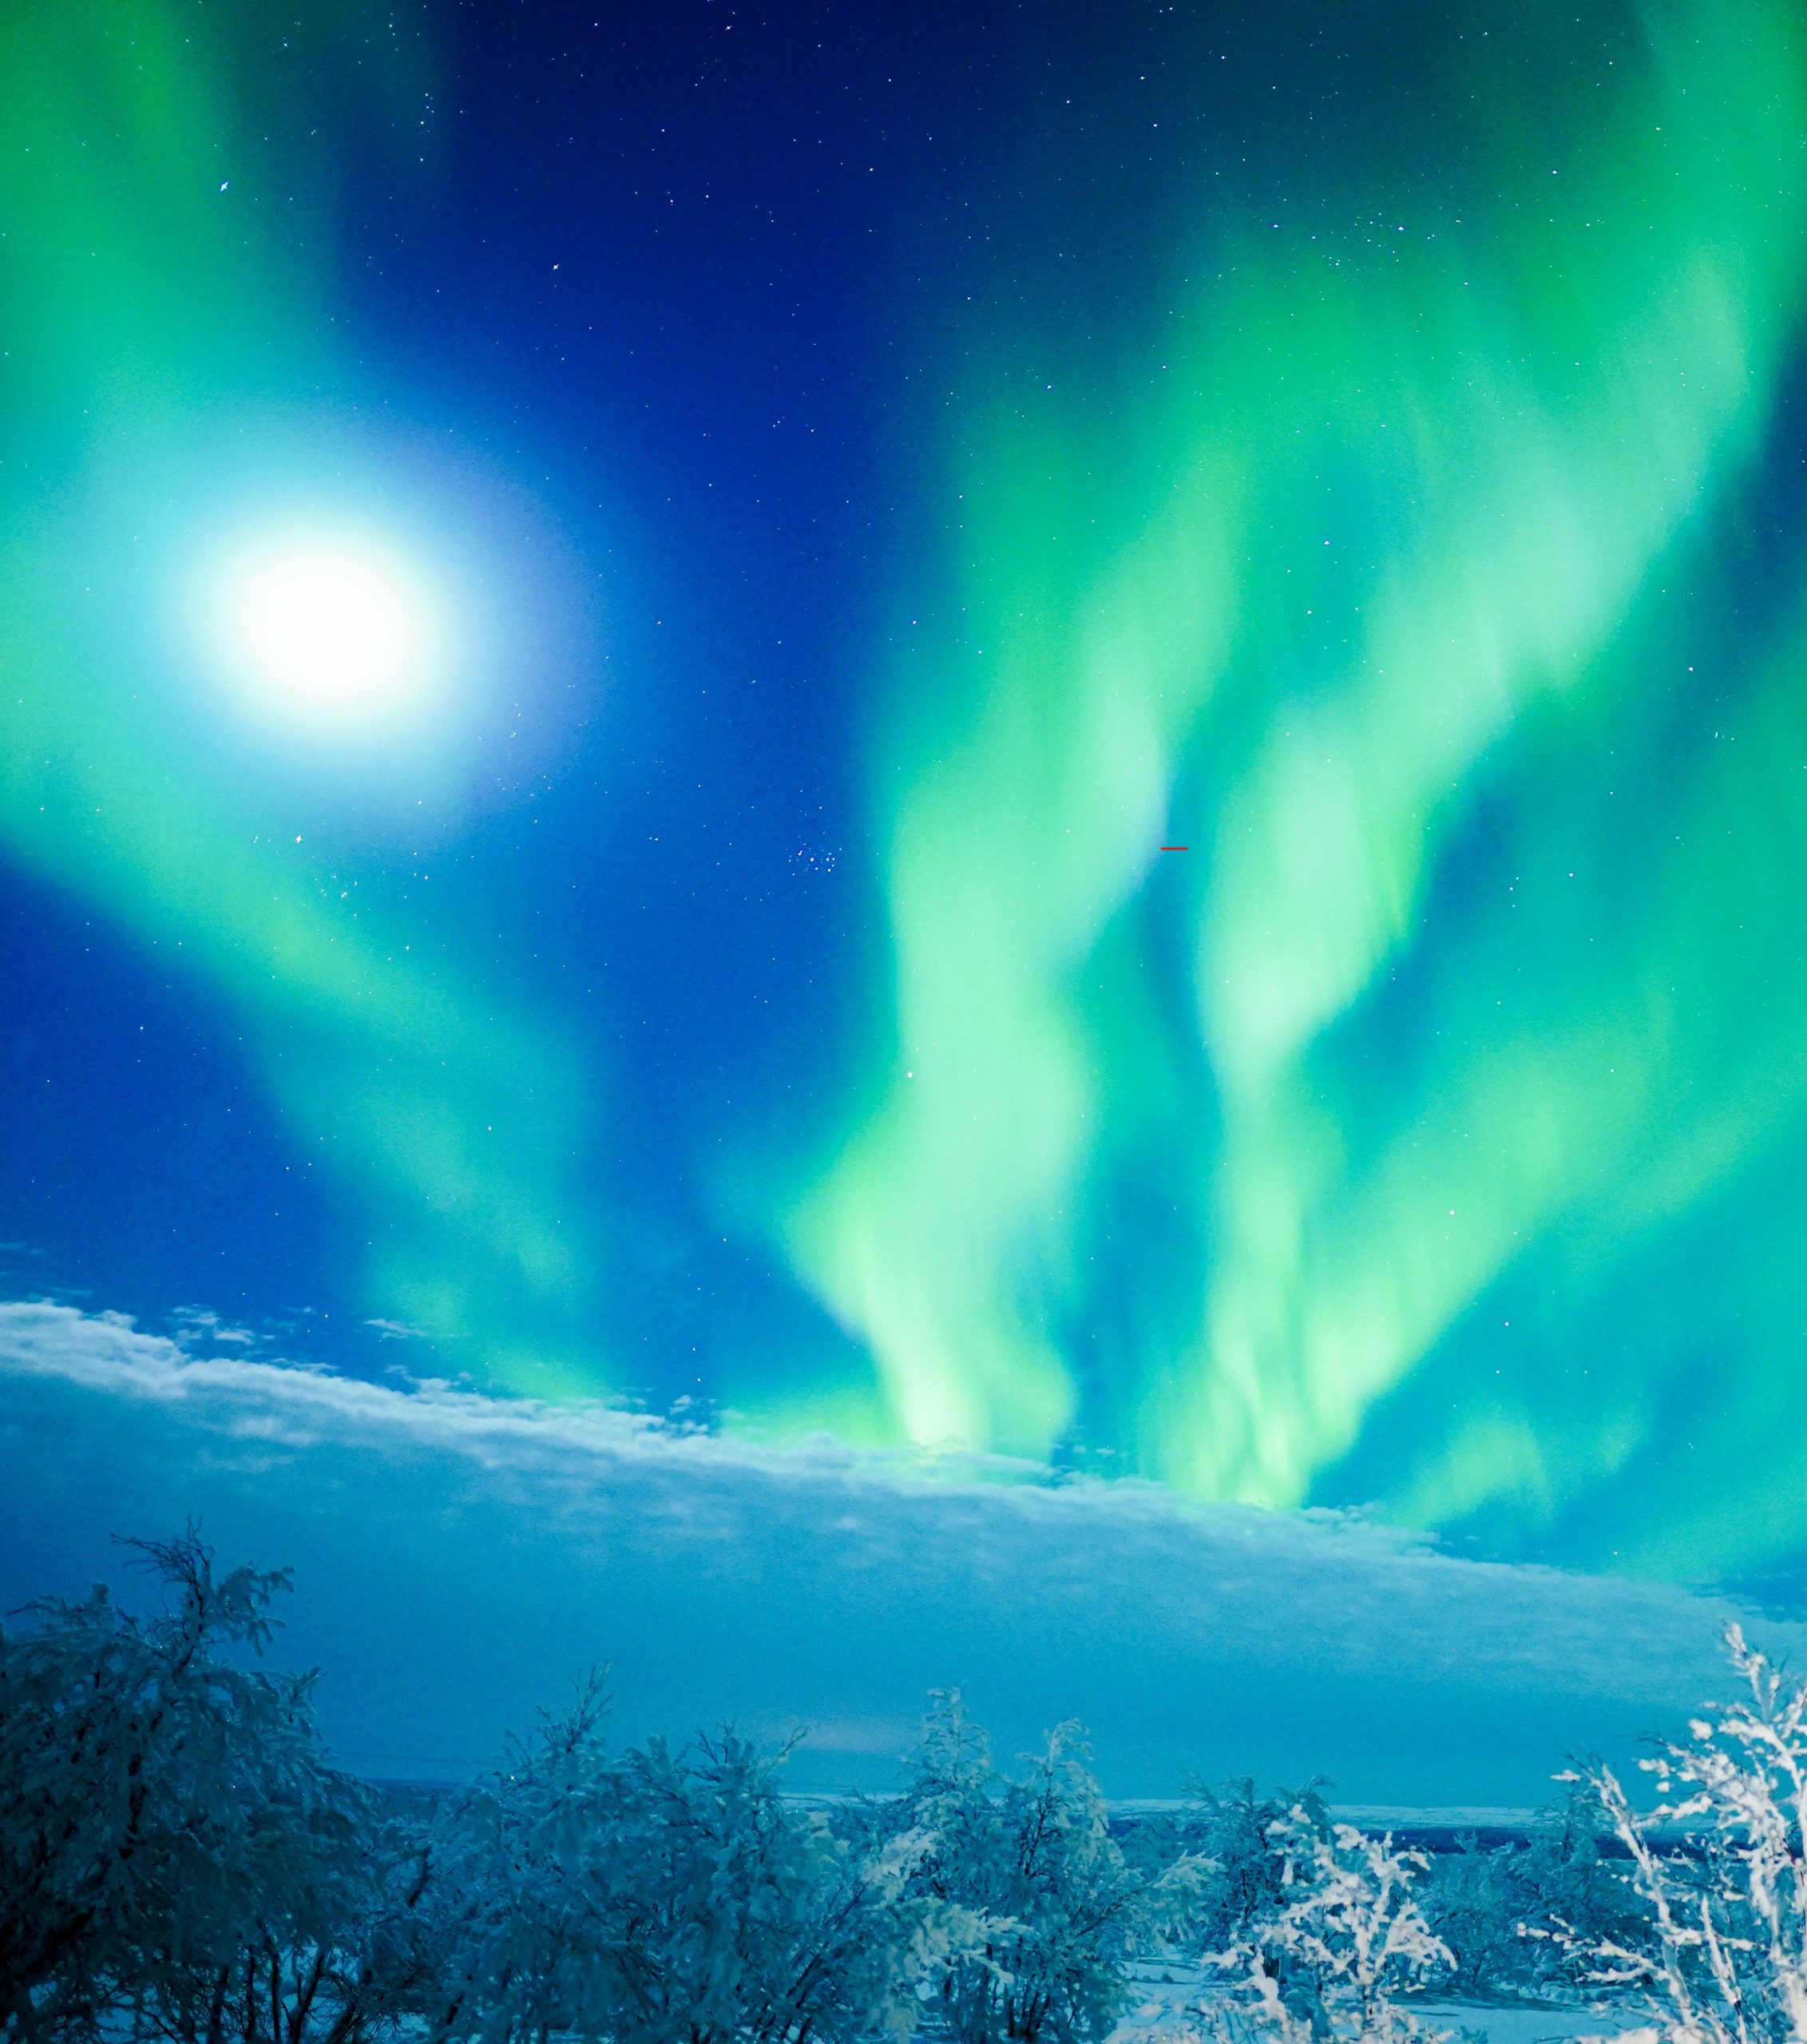
Seeing the Northern Lights belongs to one of the most magnificent moments that you can experience in Lapland. Start out with Northern Lights photography with us – with a professional camera or even with your phone. Some easy guidelines to make your shot as good as possible! What is the northern lights! Read our blog post Magical Aurora Borealis in Lapland: Everything You Need To Know.
Different Cameras – same principle
No matter, which camera you have, you can adjust the settings in a way to capture the Northern Lights in the best possible way depending on your camera. Even with the phone you can be able to take adequate pictures of Northern Lights. Of course, depending on the camera and lens you use, the exact settings for a situation might differ a bit, but the principle stays the same.
Equipment for Northern Lights photography
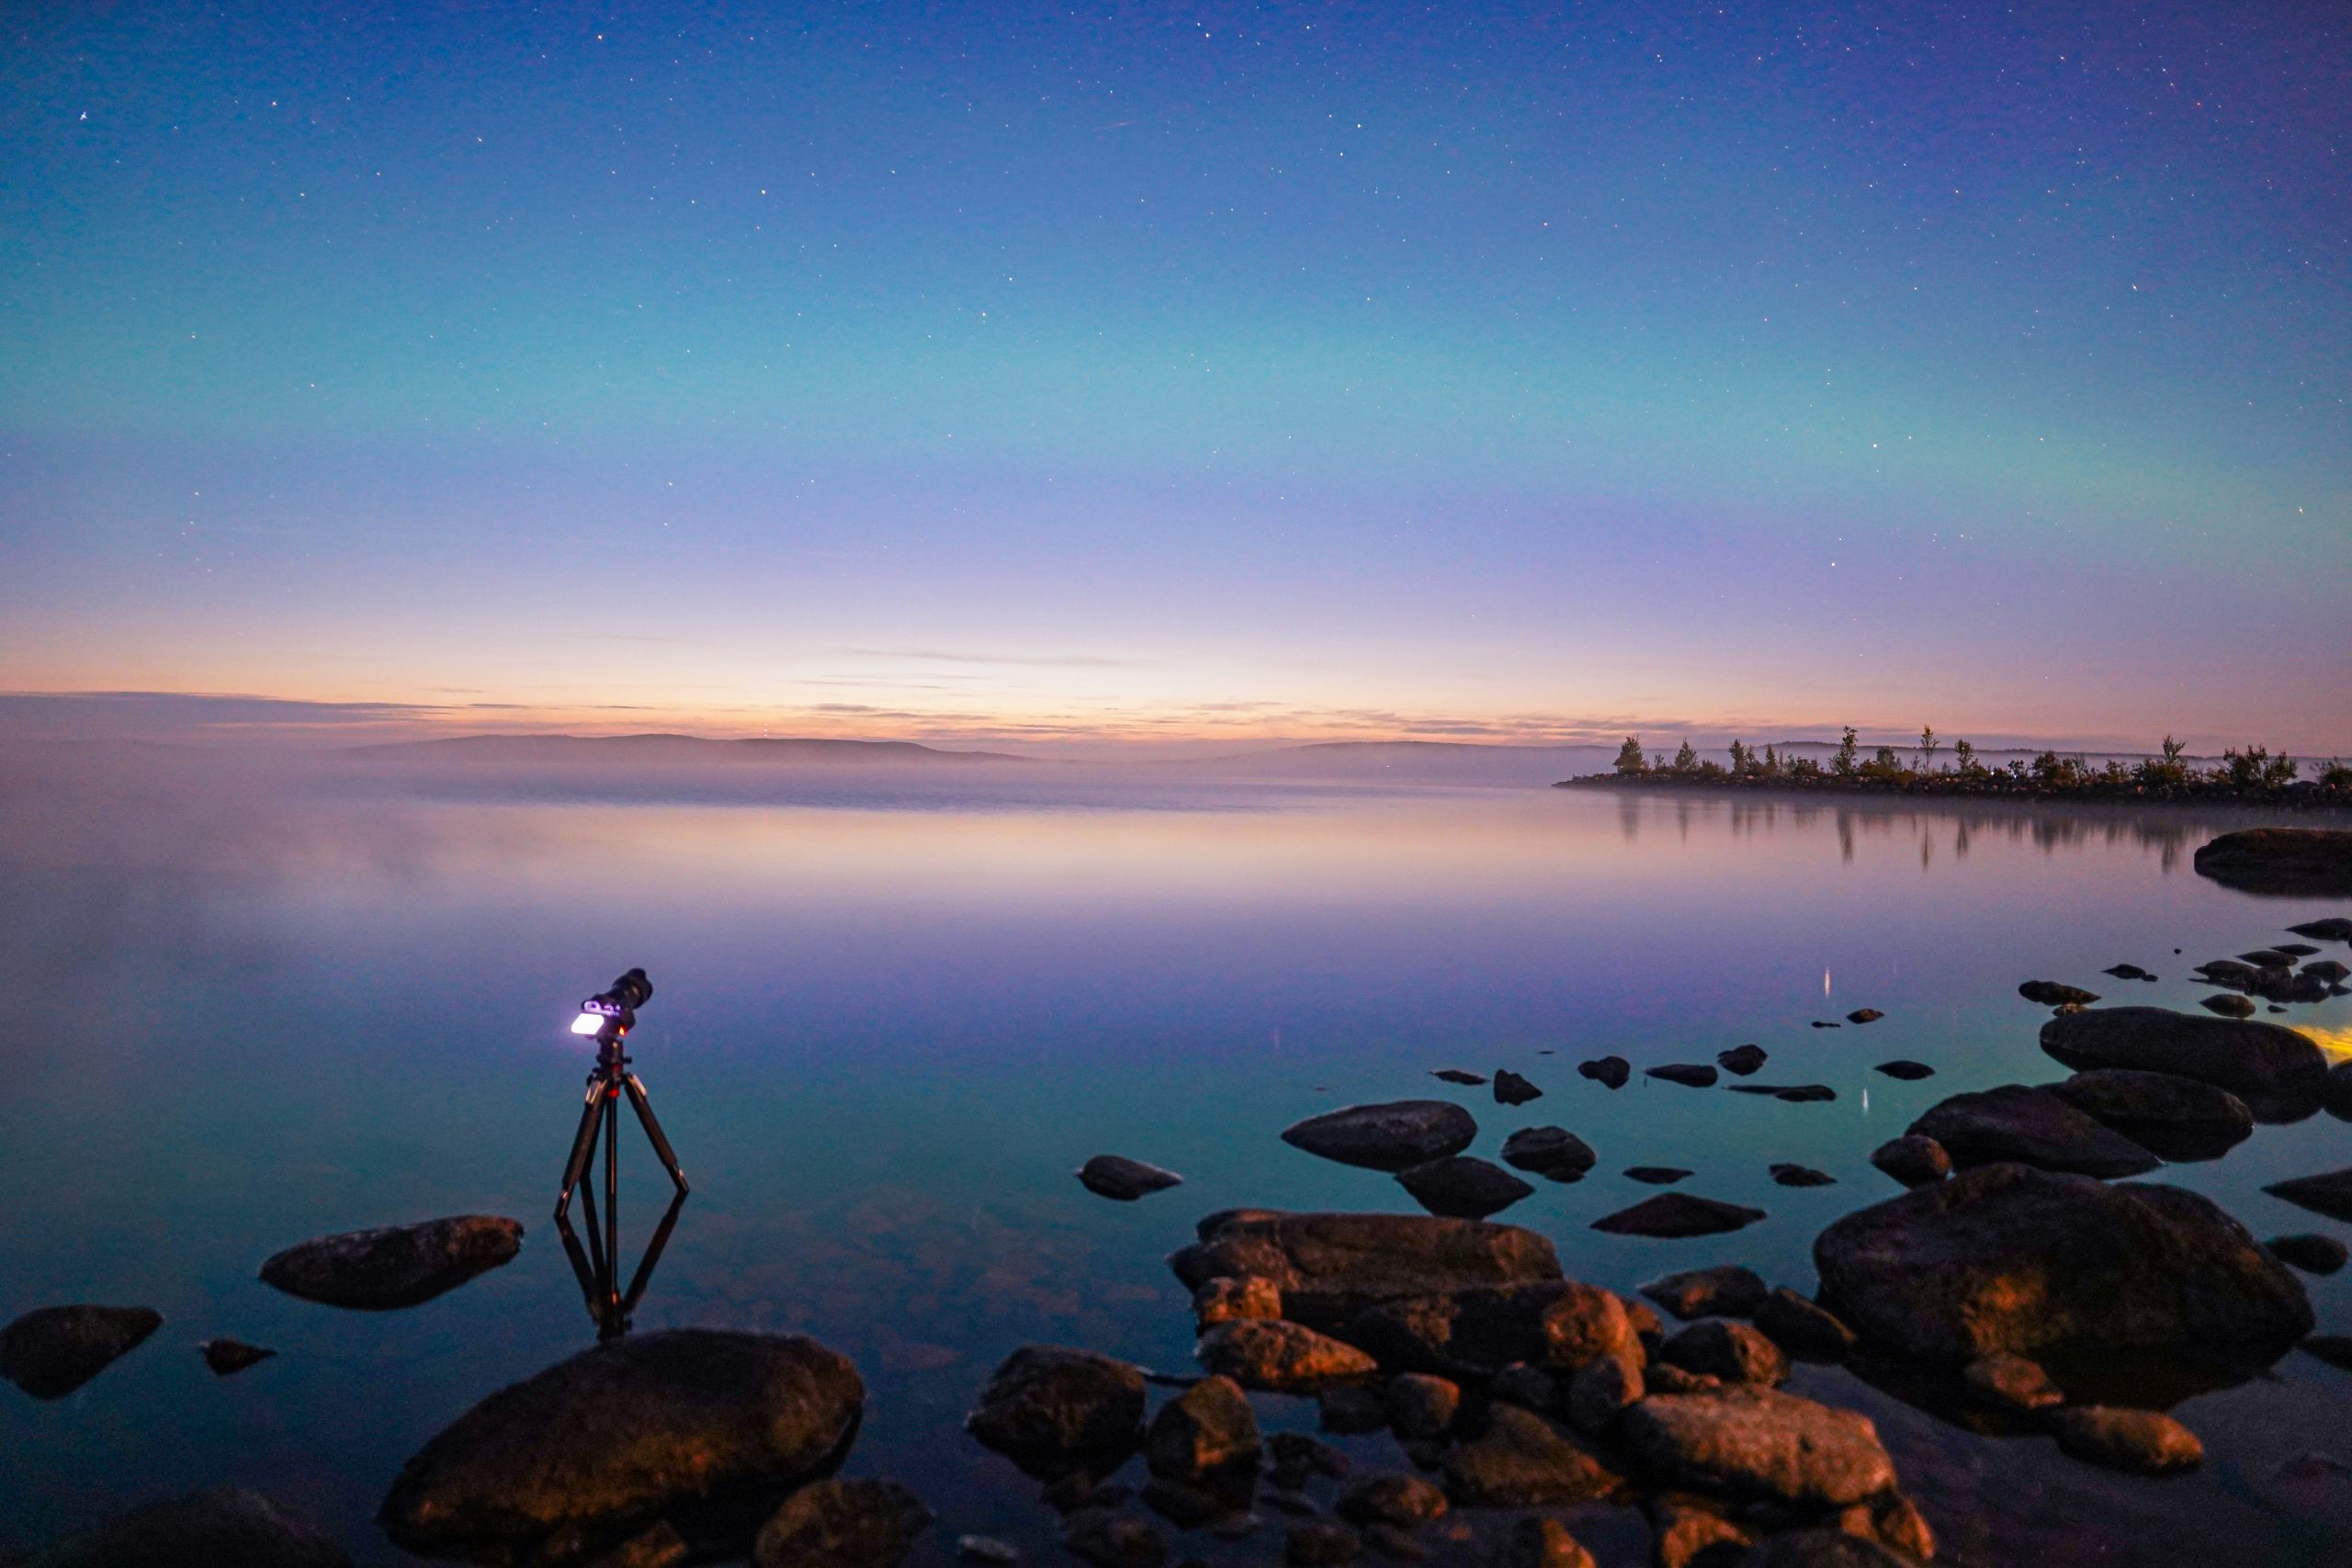
Besides a camera you need a good tripod. As you are often using long a long shutter speed in night photography, you need a stable base for all kind of terrain to not shake your pictures. When choosing the tripod be aware to use one which can carry a sufficient weight for your camera.
Further, the big difference in the pictures makes the lens you are using. The best lenses for Northern Lights pictures are wide angle prime lenses. Strong Northern Lights might be all over the sky, so the wider the angle, the more Northern Lights formations you can get on your picture. The advantage of a prime lens is that it can gather more light which means they have a wider aperture. This makes especially in dark environment a big difference in your picture.
One practical advice: Before you leave for a Northern Lights hunt with your camera make sure you charged all your batteries and you have space on your memory card. You would regret it, if there are nice auroras and you don’t have space anymore or your batteries are dead. Also take in consideration to take spare batteries because in the cold the batteries run out of power much faster than with a moderate temperature.
How to choose the settings for Northern Lights photography?
Photography might sound complicated, but actually your pictures are mainly determined by only three main camera settings: Shutter Speed, Aperture and ISO – also called the exposure triangle. For Northern Lights photography it is important to choose those settings manually, so switch your camera to the manual mode.
Shutter speed
With the shutter speed you control for how long light can enter your lens and reach the sensor of the camera. That means the longer you choose the shutter speed the brighter your picture is going to be. For you to estimate: If there are bright and fast-moving auroras, a Shutter Speed of 1 or 2 seconds with a quite good camera is enough. If there is only a small- slightly line on the horizon, you can use a longer Shutter Speed, sometimes even between 10 – 20 seconds.
My advice: just try yourself different Shutter Speeds with your camera and you will get to know very soon, which is the adequate exposure for your aurora situation.

Aperture
As already explained, the aperture indicates how much light can fall to your sensor. For Northern Lights photography, I would suggest you to use always the lowest aperture that you can choose on your camera and lens. For my Sony alpha 7 III with the Sigma 20 mm, this is for example F1.4, which is really good. Don’t worry if your camera does not get to this low aperture, despite that you will be able to get beautiful shots.
ISO
With the ISO value, you determine the light sensitivity of your camera sensor. An ISO value of for example 400 marks that the sensor is twice as sensitive to light as with an ISO value of 200.
That means the higher the ISO, the brighter your picture. But be aware that the higher you choose the ISO the more unclear and noisier your picture will be. Typically for night photography, you are advised to choose a high ISO as you are shooting in a very dark environment. It depends on your camera and lens at which ISO value your pictures get noisy. Just try which ISO value still looks good and you will find out your maximum ISO. Most cameras produce noisy pictures with an ISO value of around 3200. More modern and professional cameras can handle ISO settings up to 8000 without getting too noisy.
White Balance
The white balance indicates the colour temperature of your pictures in Kelvin values. This is a question of your own taste. Many photographers choose a colder white balance for their Northern Light pictures, I personally also sometimes like some warmer colours. Around 3500 Kelvin usually works well for Northern lights pictures.

Focus
When taking pictures of Northern Lights, focus always manually on the stars. You see that your camera is on focus when the stars appear the smallest and sharpest on your screen. This might be at the infinity point, but not always. It depends on your lens.
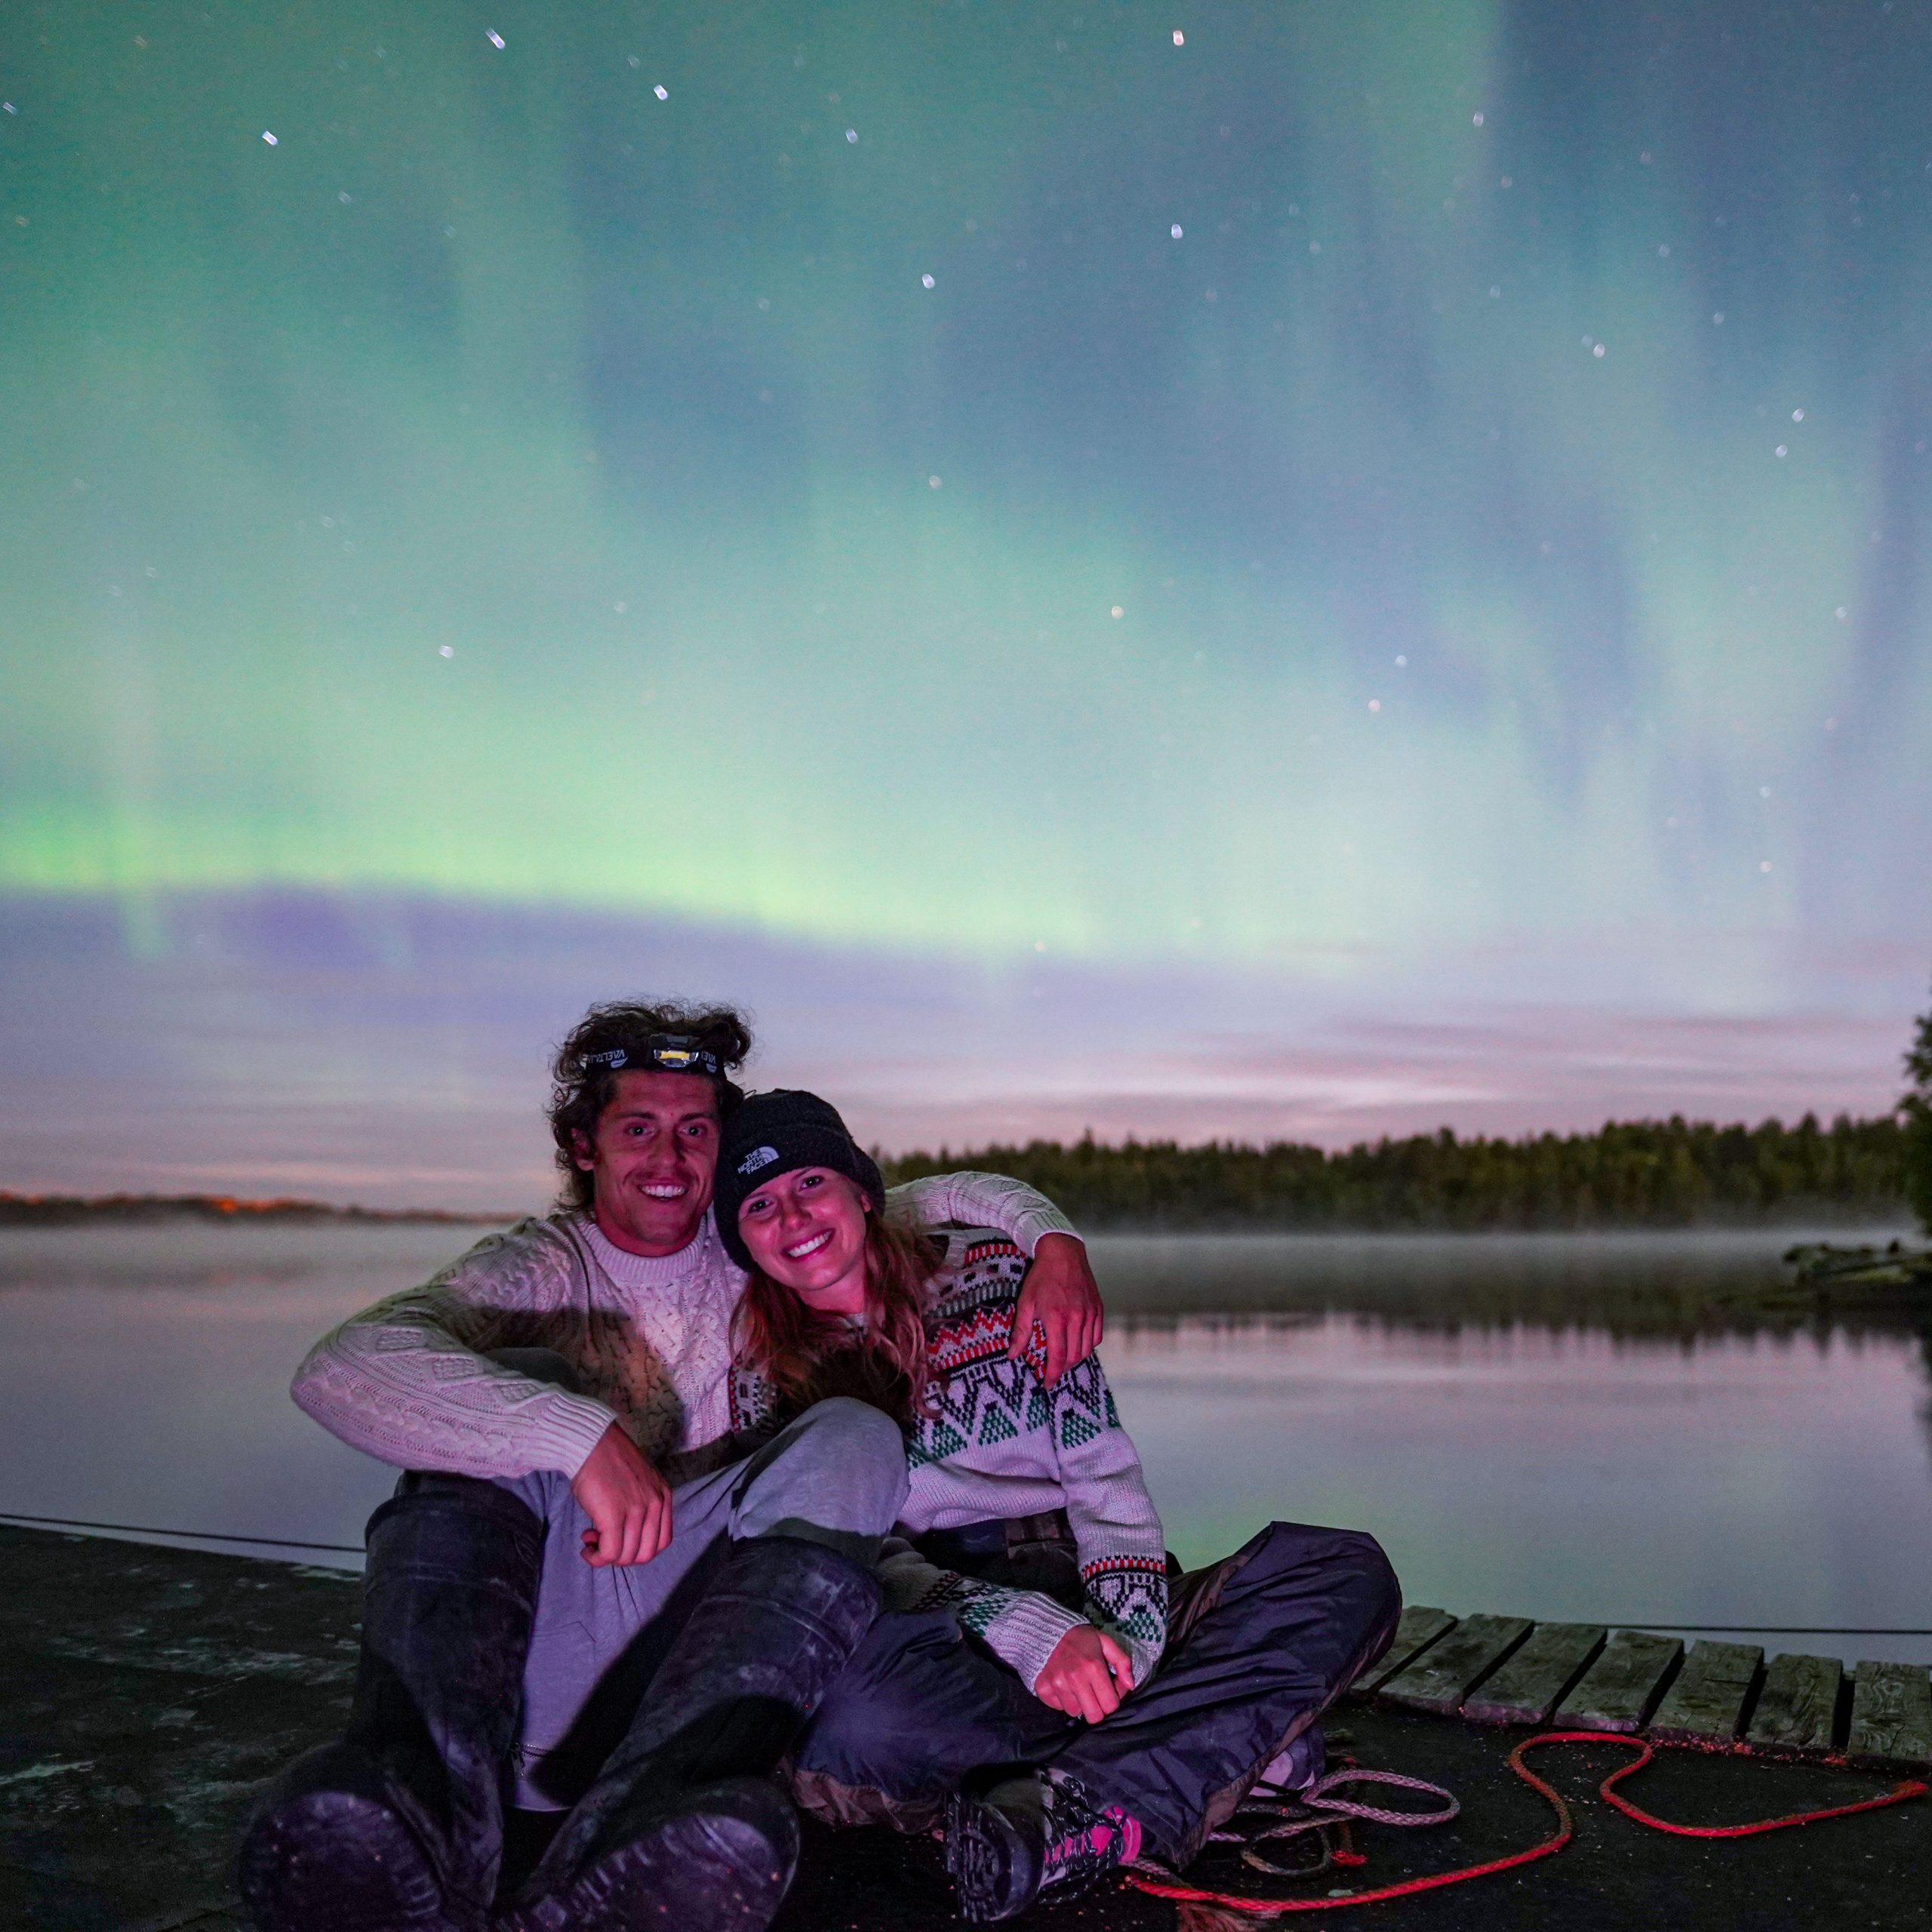
Also, you might want to take pictures of people with the Northern lights in the background. In this case you can decide whether you want to focus on the stars or on the people. From own experience it usually looks nicer to focus on the people. For that you point with a light (e.g. flashlight) on the persons and focus manually on them. When taking the picture hold a weak light towards the people to see them not only as a shadow in your picture.
Other useful tipps
Bring not only your camera equipment. Think also of getting dressed in warm cloth. Do not forget good gloves with which you can still operate your camera. Also, a headlight is useful because you are in the nature – hopefully without any disturbing lights.
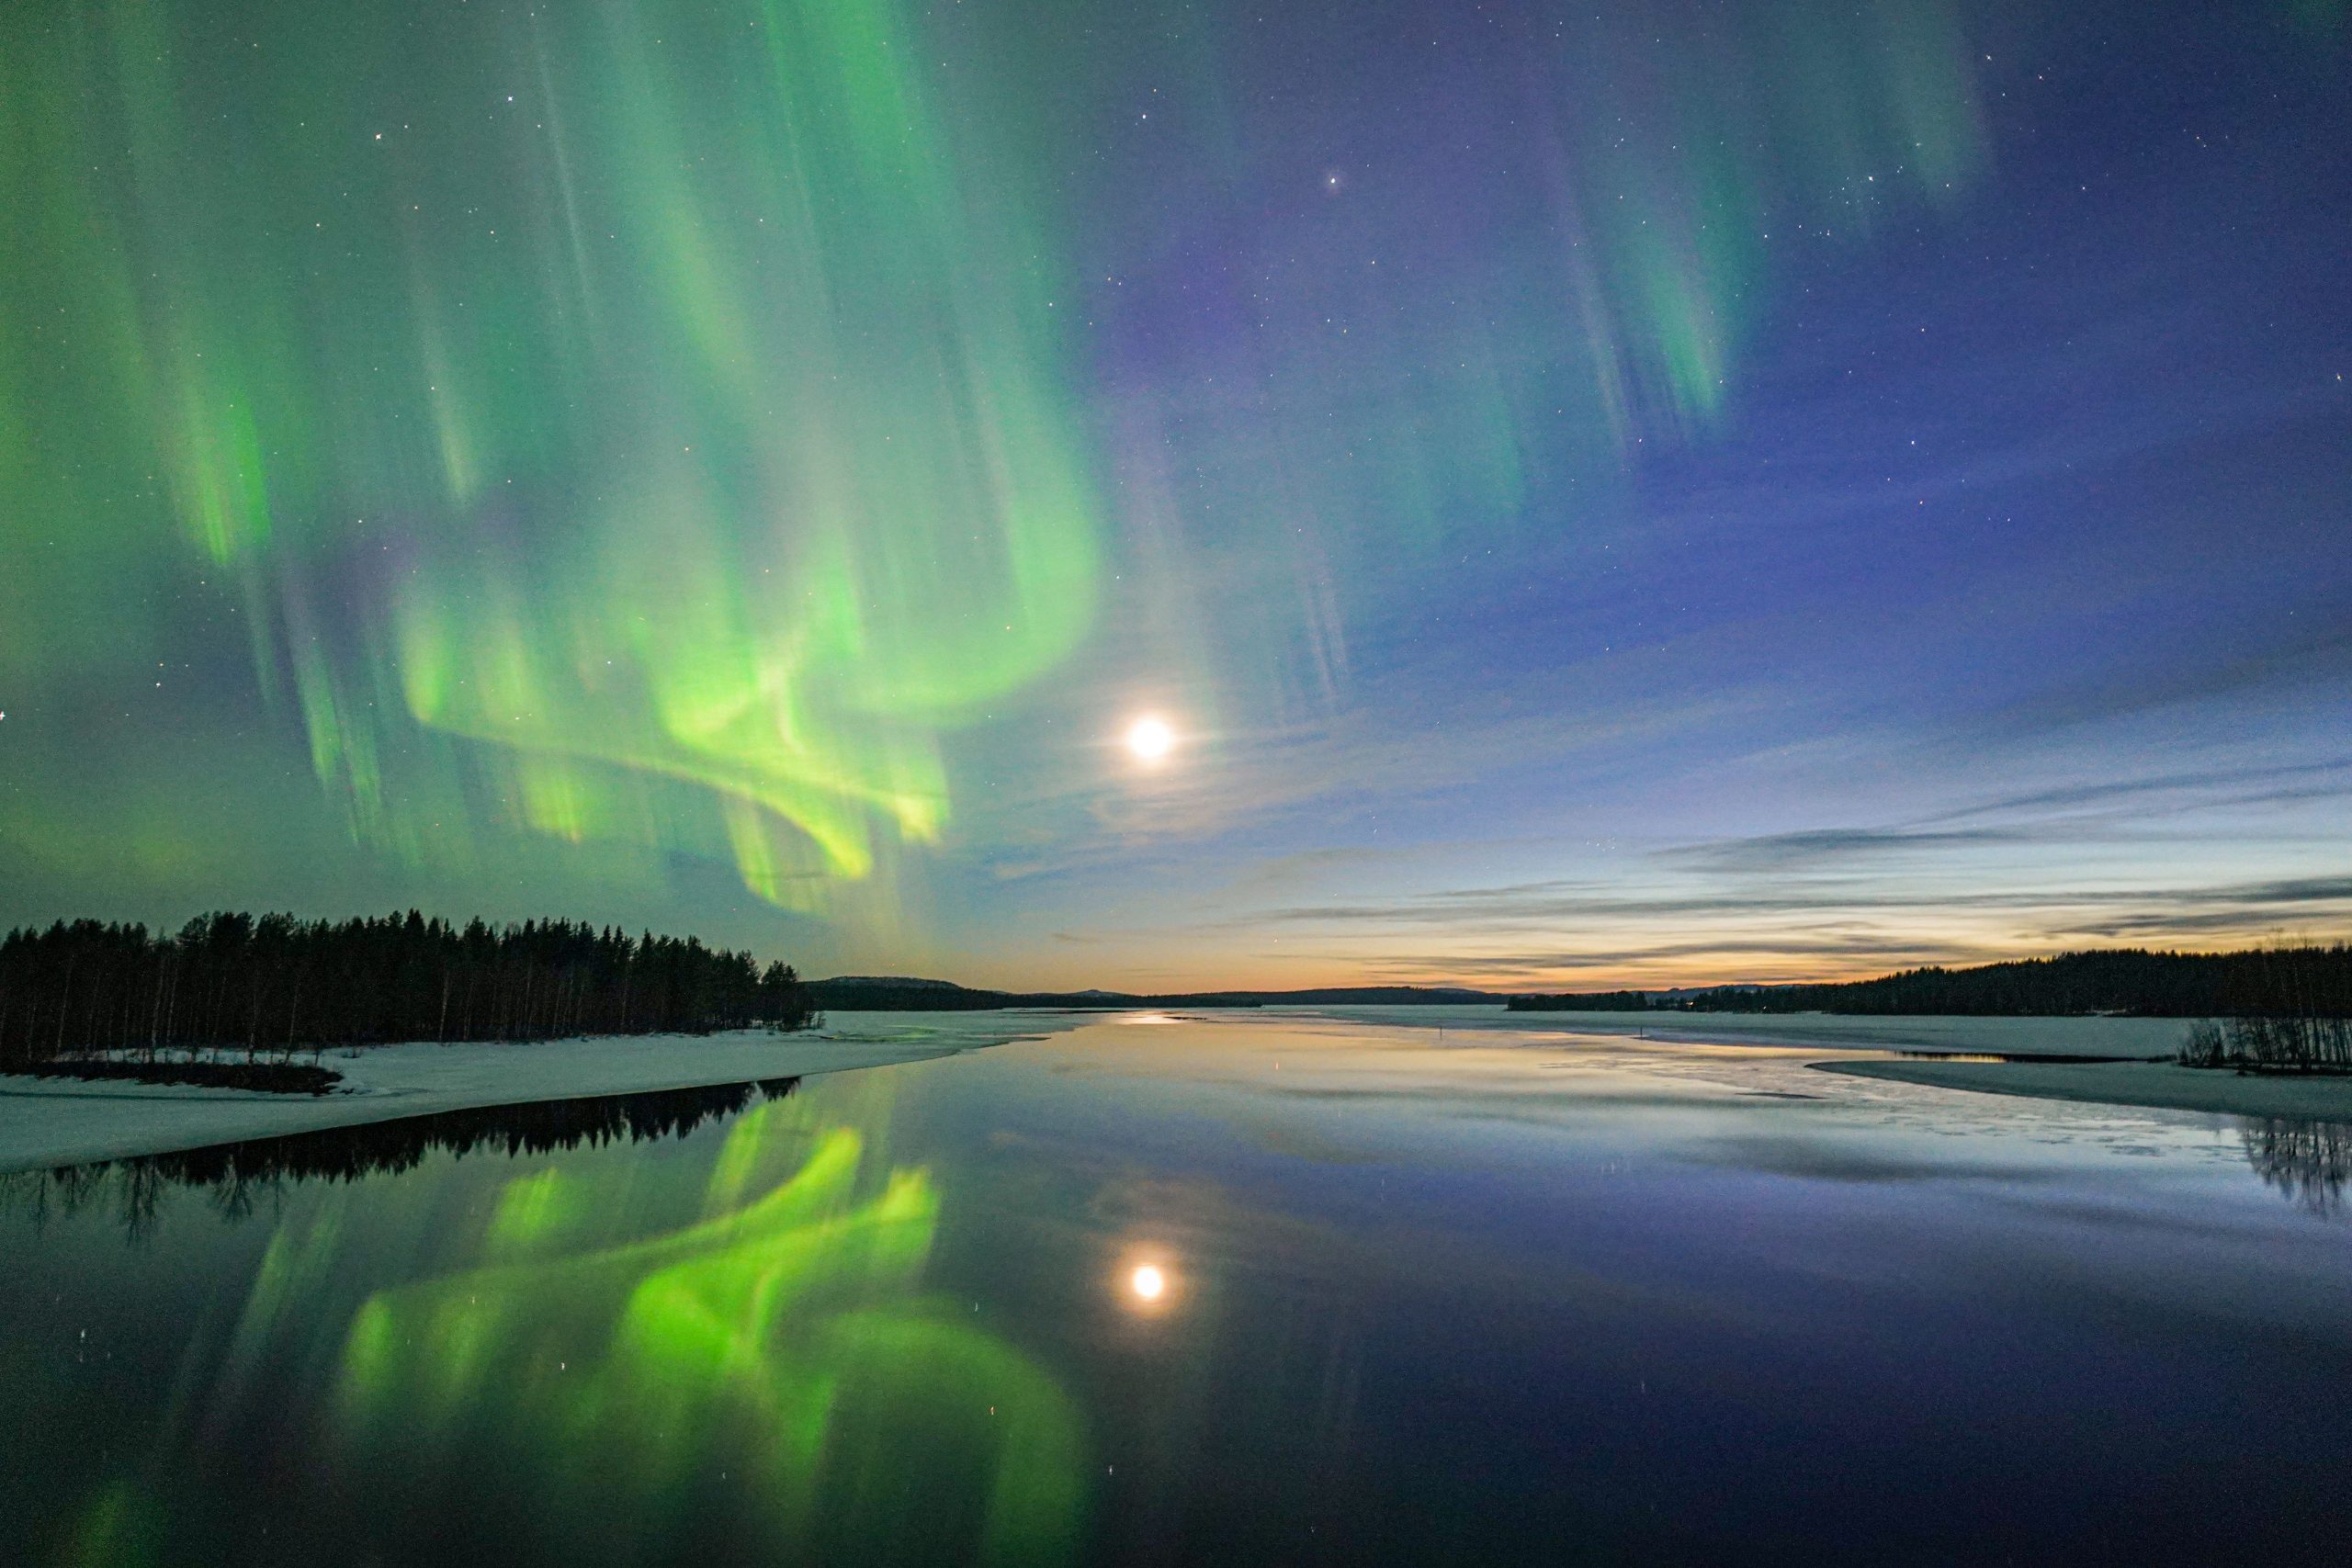
Take your time and drive to a nice spot outside of the city to avoid light pollution. Maybe you even find a spot on a lake or a river so (if it is not frozen) you can see the reflection of the Northern Lights in the water.
To sum up: Northern Lights photography
- Use a tripod and a preferable a wide-angle prime lens
- Shoot in manual mode
- Shutter speed according to strength of the Auroras: usually between 1 and 20 seconds
- Set Aperture as low as possible (F1.4/F2 etc.)
- Use a high ISO that does not make your picture too noisy (around 3200 usually)
- Choose a white balance that you like (around 3500 Kelvin)
- Focus manually on the stars
- Take time to drive outside of the city to avoid light pollution
- Dress up warm and do not forget your gloves
- Bring a headlight
- Check the weather for clear sky before hand. Use for example Windy application to check the cloud coverage at your place!
Enjoy your Northern Lights shooting! It gives you every single time a unique opportunity and challenge to capture the magic dance of the Northern Lights.
Read more about the northern lights : Magical Aurora Borealis in Lapland: Everything You Need To Know.